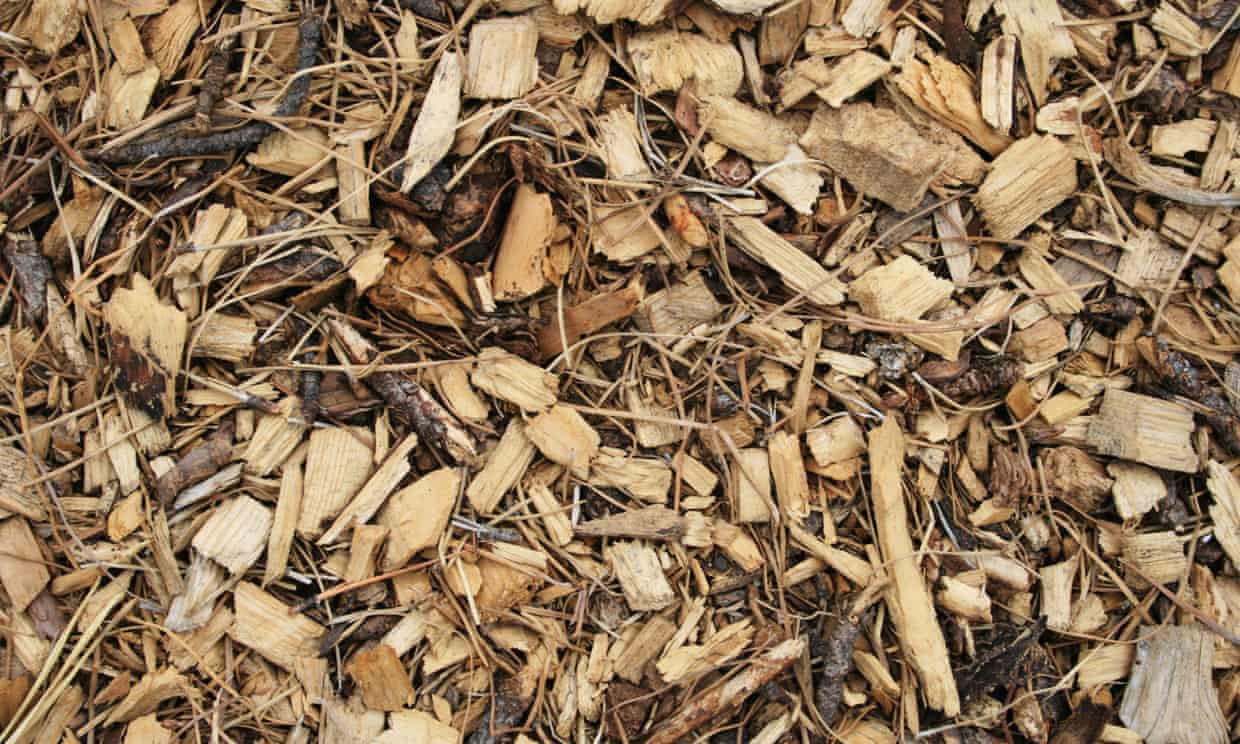
My allotment site made a deal with our local tree surgeon to take his brush and wood chippings. Very soon we were swimming in them – so many unloved leylandii and cherry laurels now steaming in our dropoff area. It turns out there are only so many wood chipping paths you can make. We needed a solution.
Jean Pain was an inventor, gardener and forester who lived in the south of France in the 70s. He, too, had a lot of brush and wood in his life. Pain’s solution was to heat his house, not by burning the wood, but by composting it. As well as fertiliser, his simple and effective use of bio-energy provided both hot water and methane gas to cook with and fuel a generator. He even ran his truck on the gas.
How did this work? Pain took all that brush, chopped it up very fine (he created several prototype chippers over the years), built piles of them, in which he buried pipes and tanks of water. As the brush rotted down, he recovered the energy using a heat exchanger, supplying him with 60C water all year round. He also trapped the methane produced during fermentation. It’s a genius system, garnering much attention today. It’s a little laborious to build the piles, but wood chippings are cheap – often free, even.
I did flirt with the idea of trying to persuade my fellow allotment holders we should have hot showers, but in the end we went with the simplest version of Pain’s method, to create compost quickly. This autumn we cracked open one of these piles and inside was dark, rich compost, completely broken down and wriggling with worms. Beautiful stuff that everyone oohed and aahed at.
The piles are simple to make and there are numerous YouTube tutorials. They need to be a minimum of 1.2 metres high and two metres wide. The bigger the pile, the faster it breaks down. All the material must be chipped and all the chippings need to be saturated with water to break down quickly. If you’re on an allotment, that means lots and lots of watering cans.
It is easiest to build the piles in layers, watering as you go, tamping down and building the next layer. You quickly learn to make a moat around the base so you can recycle the excess water. Once you get to the top of your pile, cover it with leaves (preferably wet) and boughs and branches to hold everything in place. Then drape over a tarp to keep in the moisture.
After two months you are supposed to have rough mulch. Four months later, it’s more like leaf mould; five months and it’s near enough to humus. Ours took a lot longer. I think this was because we needed bigger piles and more water at the beginning. But there is no doubt that it has broken down into finer, richer stuff than the chippings that have been left to rot down naturally.
No comments:
Post a Comment